
How to set permissions
This section describes how to set permissions on application forms.
You can set the permissions for each item and WorkFlow of the application form you have created.
Table of Contents
1. Going to Application Page
2. Opening an Application Form
3. Going to Permission Settings
4. Permission Settings
5. Types of Permission
6. Customizing Permission Among Steps
7. Publish
1. Click "Application" on the administration page.
2. Create a new application form or edit an existing application form.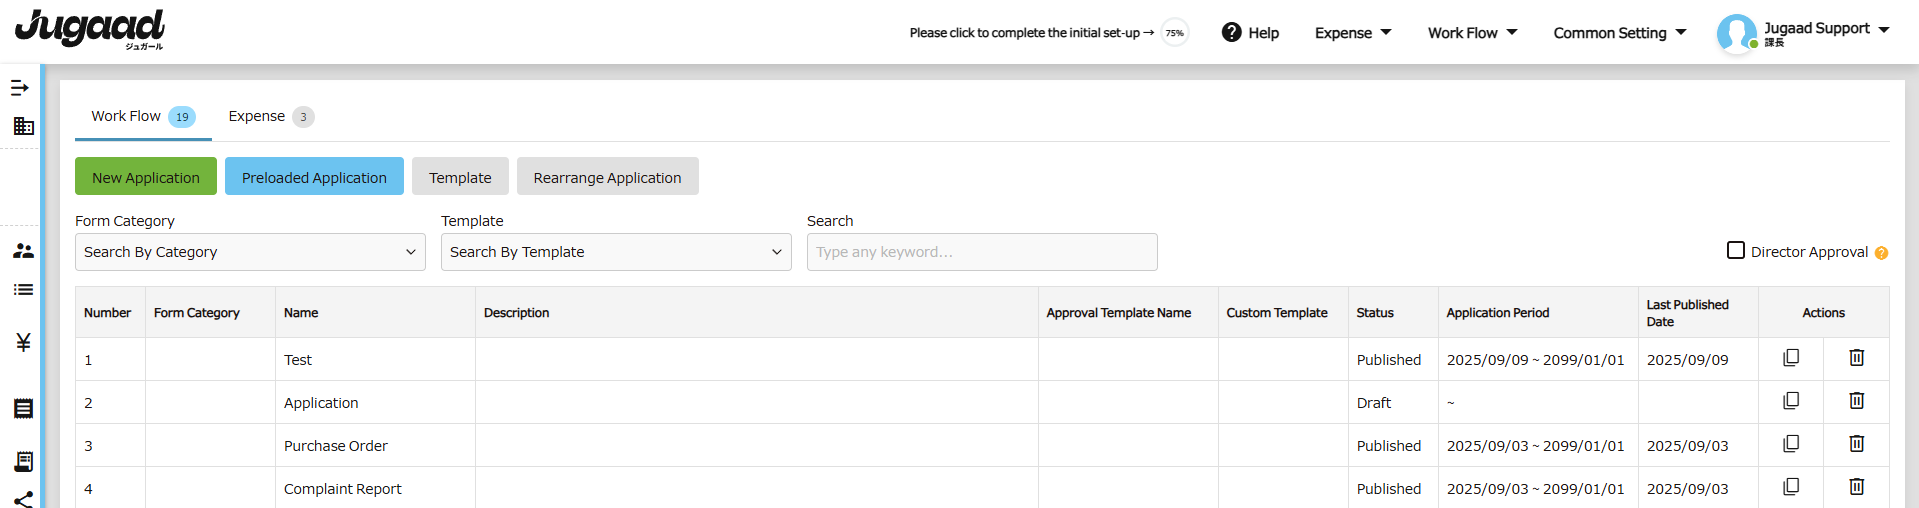
3. Click "Permission" in the WorkFlow tab.
4. You can customize the settings for each section and elements. 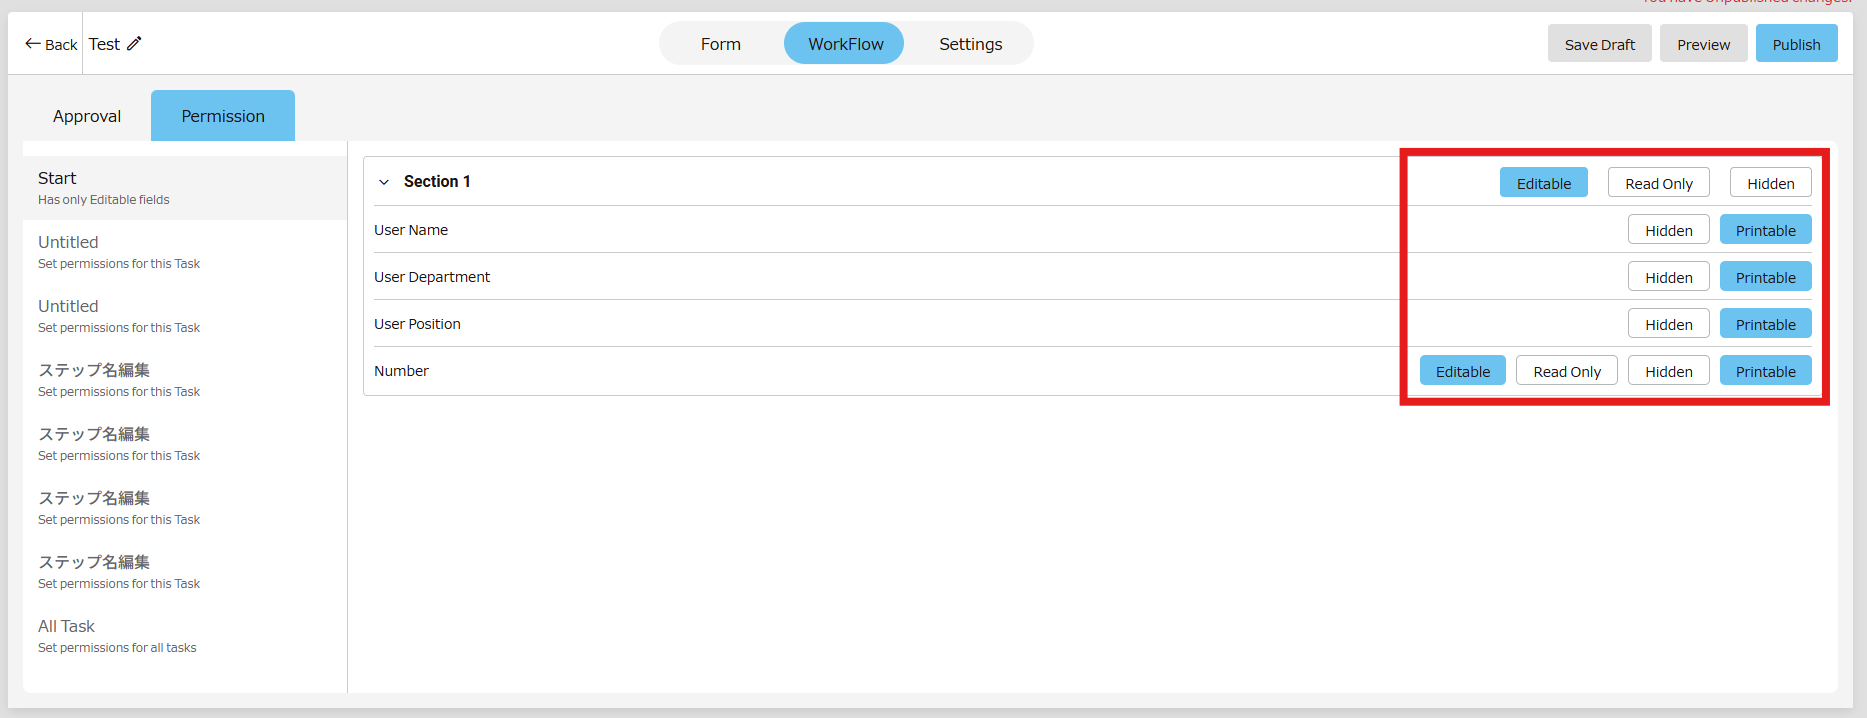
5. Types of Permission
5-1. When set to "Editable," users can edit information such as inputs.
5-2. When set to "Hidden," users cannot see the information.
5-3. When set to "Read Only," users are unable to edit the information.
6. Customizing Permission Among Steps
6-1. By editing in "All Task," the application is editable in bulk. All steps in the WorkFlow will have the same permission settings.
6-2. By changing permission between different steps of the WorkFlow, managing information would become smoother.
7. After all settings are complete, click "Publish" to publish the form.
That's all.
Thank you for reading to the end.
Related Keywords 👀
Jugaad, setting permissions, how to set permissions
If you have any questions about the settings, please contact us at support@smartflowhelp.zendesk.com.